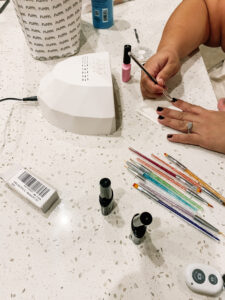
Ever since Corona Virus happened, many people started to purchase manicure sets/gel sets online and doing their nails at home. Well, I was one of them. I’ve been getting my nails done for years and years, and as we know it gets very expensive… especially when doing both a mani/pedi. But, my nails are so brittle, and having gel polish on them makes them more sturdy and prevents less breaking. Also, talk about how much money I have now saved!

Now, I really do love my nail girl (who has now become a friend of mine) and I will still go to her, especially when it comes to my pedi’s because no one (not even I) can remove my ingrown nails as good as she can. But I’m not going to lie… it’s been nice not really having to pay an arm and a leg. Also, normal gel polish doesn’t normally last as long on my nails because apparently my nail beds are oily (from what I was told in the past), so typically a gel polish will only last 1 week.. maybe a week 1/2… but even if I get them done by my girl it sometimes doesn’t last long. So I’m sure you can imagine how frustrating it gets at times when it doesn’t last as long as you want it too. And, no this has NOTHING to do with the nail tech… this has been an ongoing problem ever since getting my nails done.
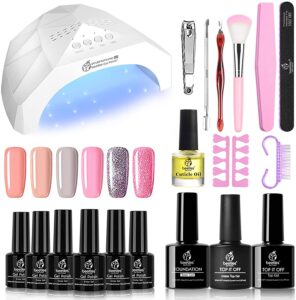
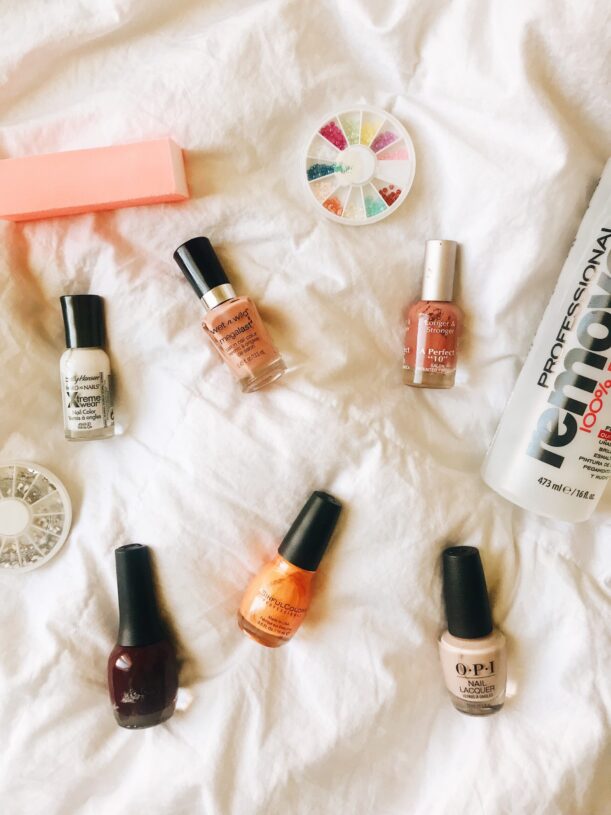
So anyways, I purchased this kit from Amazon, along with the electric drill set, and I can honestly has I love it all! I especially love the gel manicure set because it comes with everything you practically need to do your own gel mani at home. The only thing I wan’t to fond of is the polish that comes with it. I’ve always been one to like certain gel polish brands more than others… because they do last a little bit longer than what it comes with, but I love how I can change it at any time I want too and honestly to purchase other gel polishes really isn’t that expensive as well!
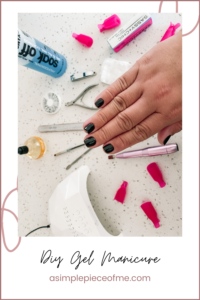
So, today I am going to share with you a step by step tutorial on how I do my at home gel manicure.

Step 1
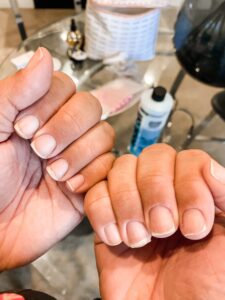
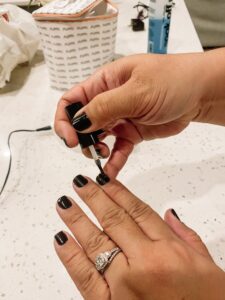
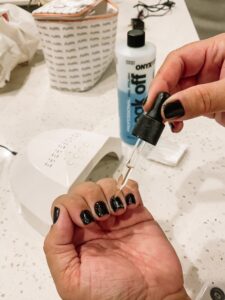
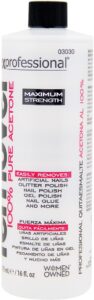
Remove your nail polish. Since I already have gel polish on, I take a piece of cotton ball/pad and use 100% nail polish remover, and use these nail clips. Before I use to use aluminum foil and just wrap it around, but I found these online for a couple bucks and they work great, but you can definitely use aluminum foil just like I use to do. Once wrapped, allow to soak for about 10-15 mins.
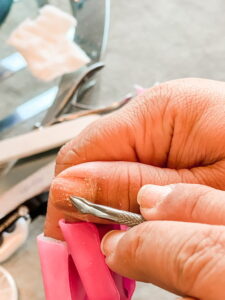
Step 2
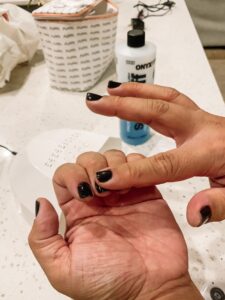
After, I take a nail scrapper and remove the polish using this tool. The polish should be easily removed. If not, then you may have not soaked it for long.
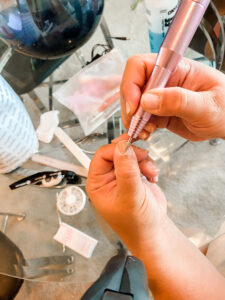
Step 3
Taking the electric nail drill… clean up your cuticles. I ALWAYS use this on the lowest setting there is. Also, be very careful when using this. If done incorrectly, you can damage or thin out your nails or cuticles. This is the electric drill i’m using and I seriously love it! It comes with many different tools you can change out, and it also comes with different speed settings. If you don’t have an electric drill (skip to step 5) then a filer and clippers will work just fine.
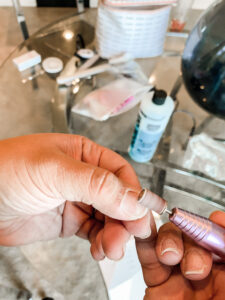
Step 4
Taking the electric nail drill and the little sandpaper brown tool, this is when I will buff out my nail. Again if you don’t have an electric drill then using a nail filer or nail buffer will work just as fine. I just honestly like using the electric nail drill because it’s faster and makes me feel like i’m in a salon (LOL).

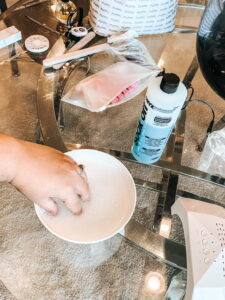
Step 5
Fill warm water in a bowl with some cuticle remover or dish soap (which is what I used). Soak your fingers in the water for about 3-4 minutes, to soften your cuticles.

Step 6
Using your cuticle clippers, carefully cut your cuticles.


Step 7
If you like your nails squared, just like me, this is when you will want to square them off with a nail file. You can also round them or if you have long enough nails then you can make them coffin shaped or any other shape you like. I also, like to take my nail buffer and go on the side that’s smooth or says ‘polish’ and buff out my nails one last time.
Step 8
Wash your nails really good with soap and water. You will want to make sure your nail beds are free from oils and dust.
Step 9
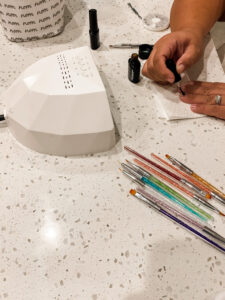
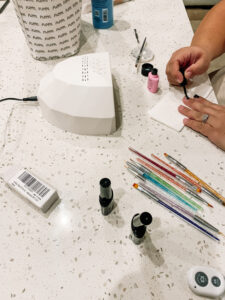
Once dried, take your base coat and paint nails. This is the gel nail polish kit that I purchased from Amazon. I also take a small cleaning brush, love these ones I got from Amazon as well, and clean up the sides with acetone. This will help and prevent from your gel polish with lifting as well.
Step 10
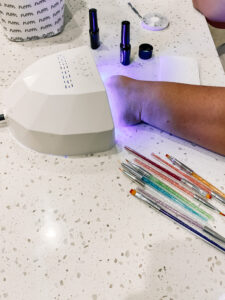
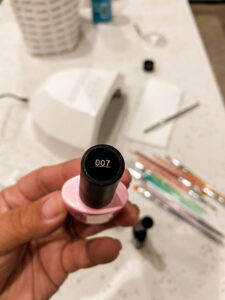
Place hand in light for 60-120 seconds. Since mine gives me the choice to do 120, I always choose 120 for my base coat.
Step 11
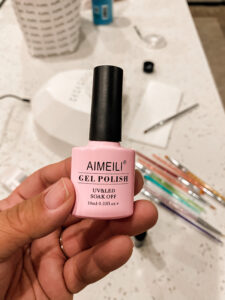
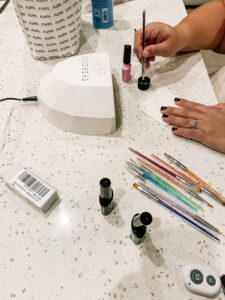
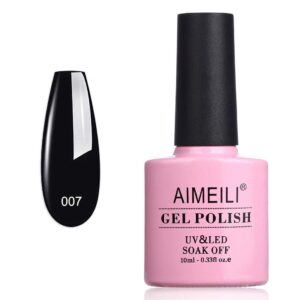
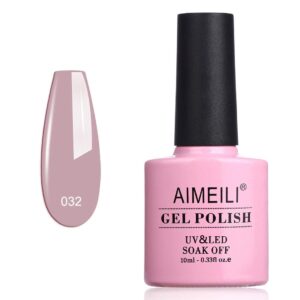
Once your base coat is applied, then paint your nails using your preferred gel polish of your choice. Since Halloween is coming up, I purchased this black gel polish from AIMEILI (which is one of my favorite brands so far).
Step 12
Clean up the edges and cuticle area with your brush and acetone. I pour acetone in the lid from the bottle and dip my brush into the acetone. I also always have a paper towel right under my hand so I can brush off some of the acetone on the paper towel. I noticed if I go directly from the acetone to my nail and have a lot of acetone on the brush, it will remove some of the nail paint on my nails.
Step 13
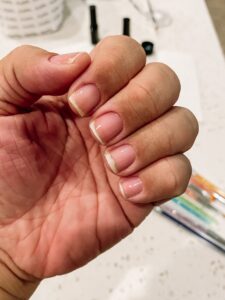
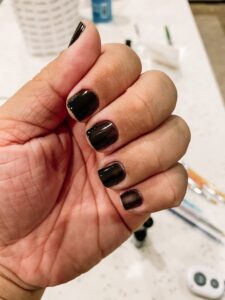
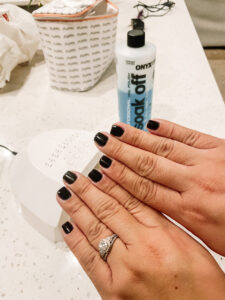
Place hand back under light for 30-60 seconds. I typically do 60 seconds. You may need to do another coat.. sometimes 3-4 coats depending on the color you choose, but always remember to put your hand under the light for at least 30 seconds to set it before applying your next coat. You can see in the picture above this is with just 1 coating. So I definitely want to add another coat.

Step 14
After all your gel coats are done and set, apply your top coat. Clean up edges.

Step 15
Place under light for 60-120 seconds

Step 16- optional
If you want to add any rhinestones just like me, I placed a dot of top coat onto where I wanted the stone at, push the stone down onto the wet dot area and then placed my hand under the light to set it. Then apply another top coat on the whole nail and set it again under the UV light for 60-120 seconds.

Step 17
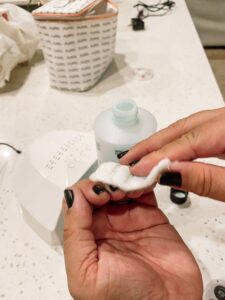
After you’ve applied your top coat and you’ve set it under the UV light, take a cotton pad and apply some acetone on the pad/ball. Clean up the nail with the acetone cotton ball/pad.
Step 18
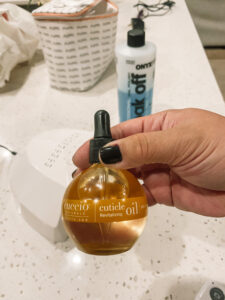
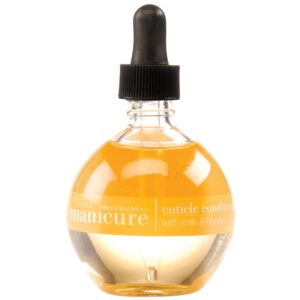
The last step I do, is always apply cuticle oil. If you purchase this set it does already come with an oil stick, but I purchased this one and OMG do I love it! The smell of it, is amazing!
And you’re done! The first couple of times doing your own gel mani it may take super long to do and it may not come out looking like you just left the nail salon (that happened with me), but after some practice you will get use to it and know the process more! Then you’ll be obsessed with doing your own nails and knowing how much money you are saving!
Now I’m not going to lie, every once in a while it’s nice having someone else do it, so I don’t know if I will ever give up going to the nail salon, but I sure do love being able to spend the money that I would have spent at the nail salon and apply it somewhere else.
Products I used | Click on images to take you to the direct site


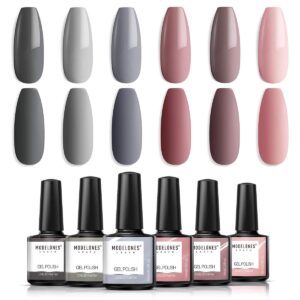
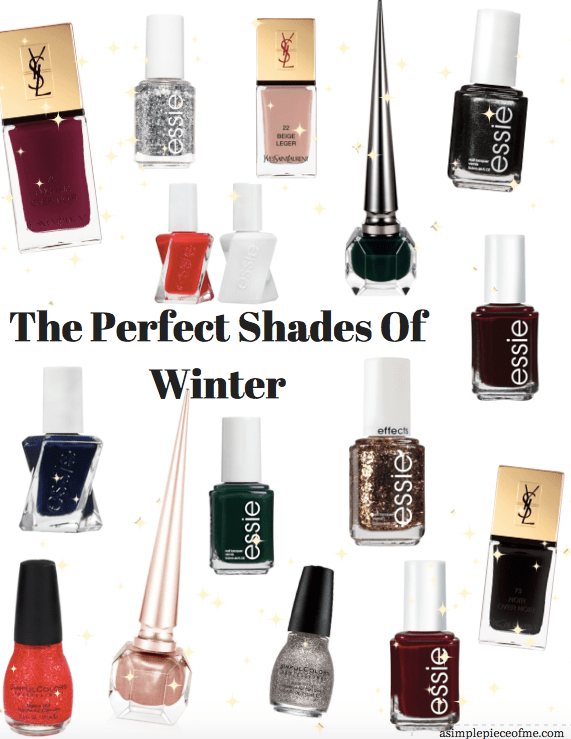
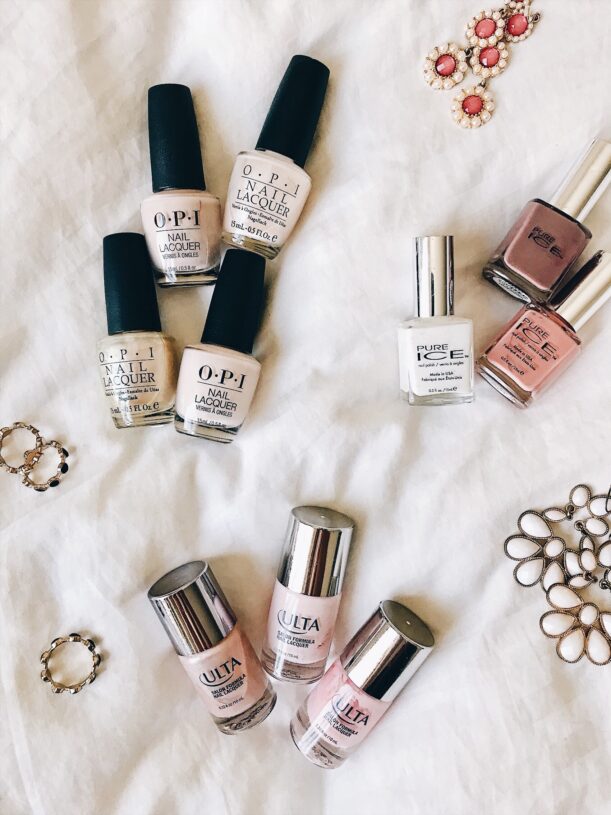
Here are some of my favorite gel polishes that i’ve purchased so far and LOVE


XO
Like this post, make sure to save it to your Pinterest!

This post does contain affiliate links. I do make a small commission if you purchase something from my links, but in no way shape or form does this increases the price of the product(s) in which you are paying for. As always, all opinions and thoughts are my own.


Leave a Reply