Hey guys… I don’t know about you but this time of the year is seriously my favorite! I love everything about the holiday season; the decorations, pumpkin everything, the smells, family gatherings, holiday baking and cooking, and all the fun festivities. All of these things all include 1 thing and that is making new memories, which is what it’s about right!?!
Since it’s now September, this is when the inside of my home becomes really festive! This year I wanted to create something that was super cute & really affordable to make.

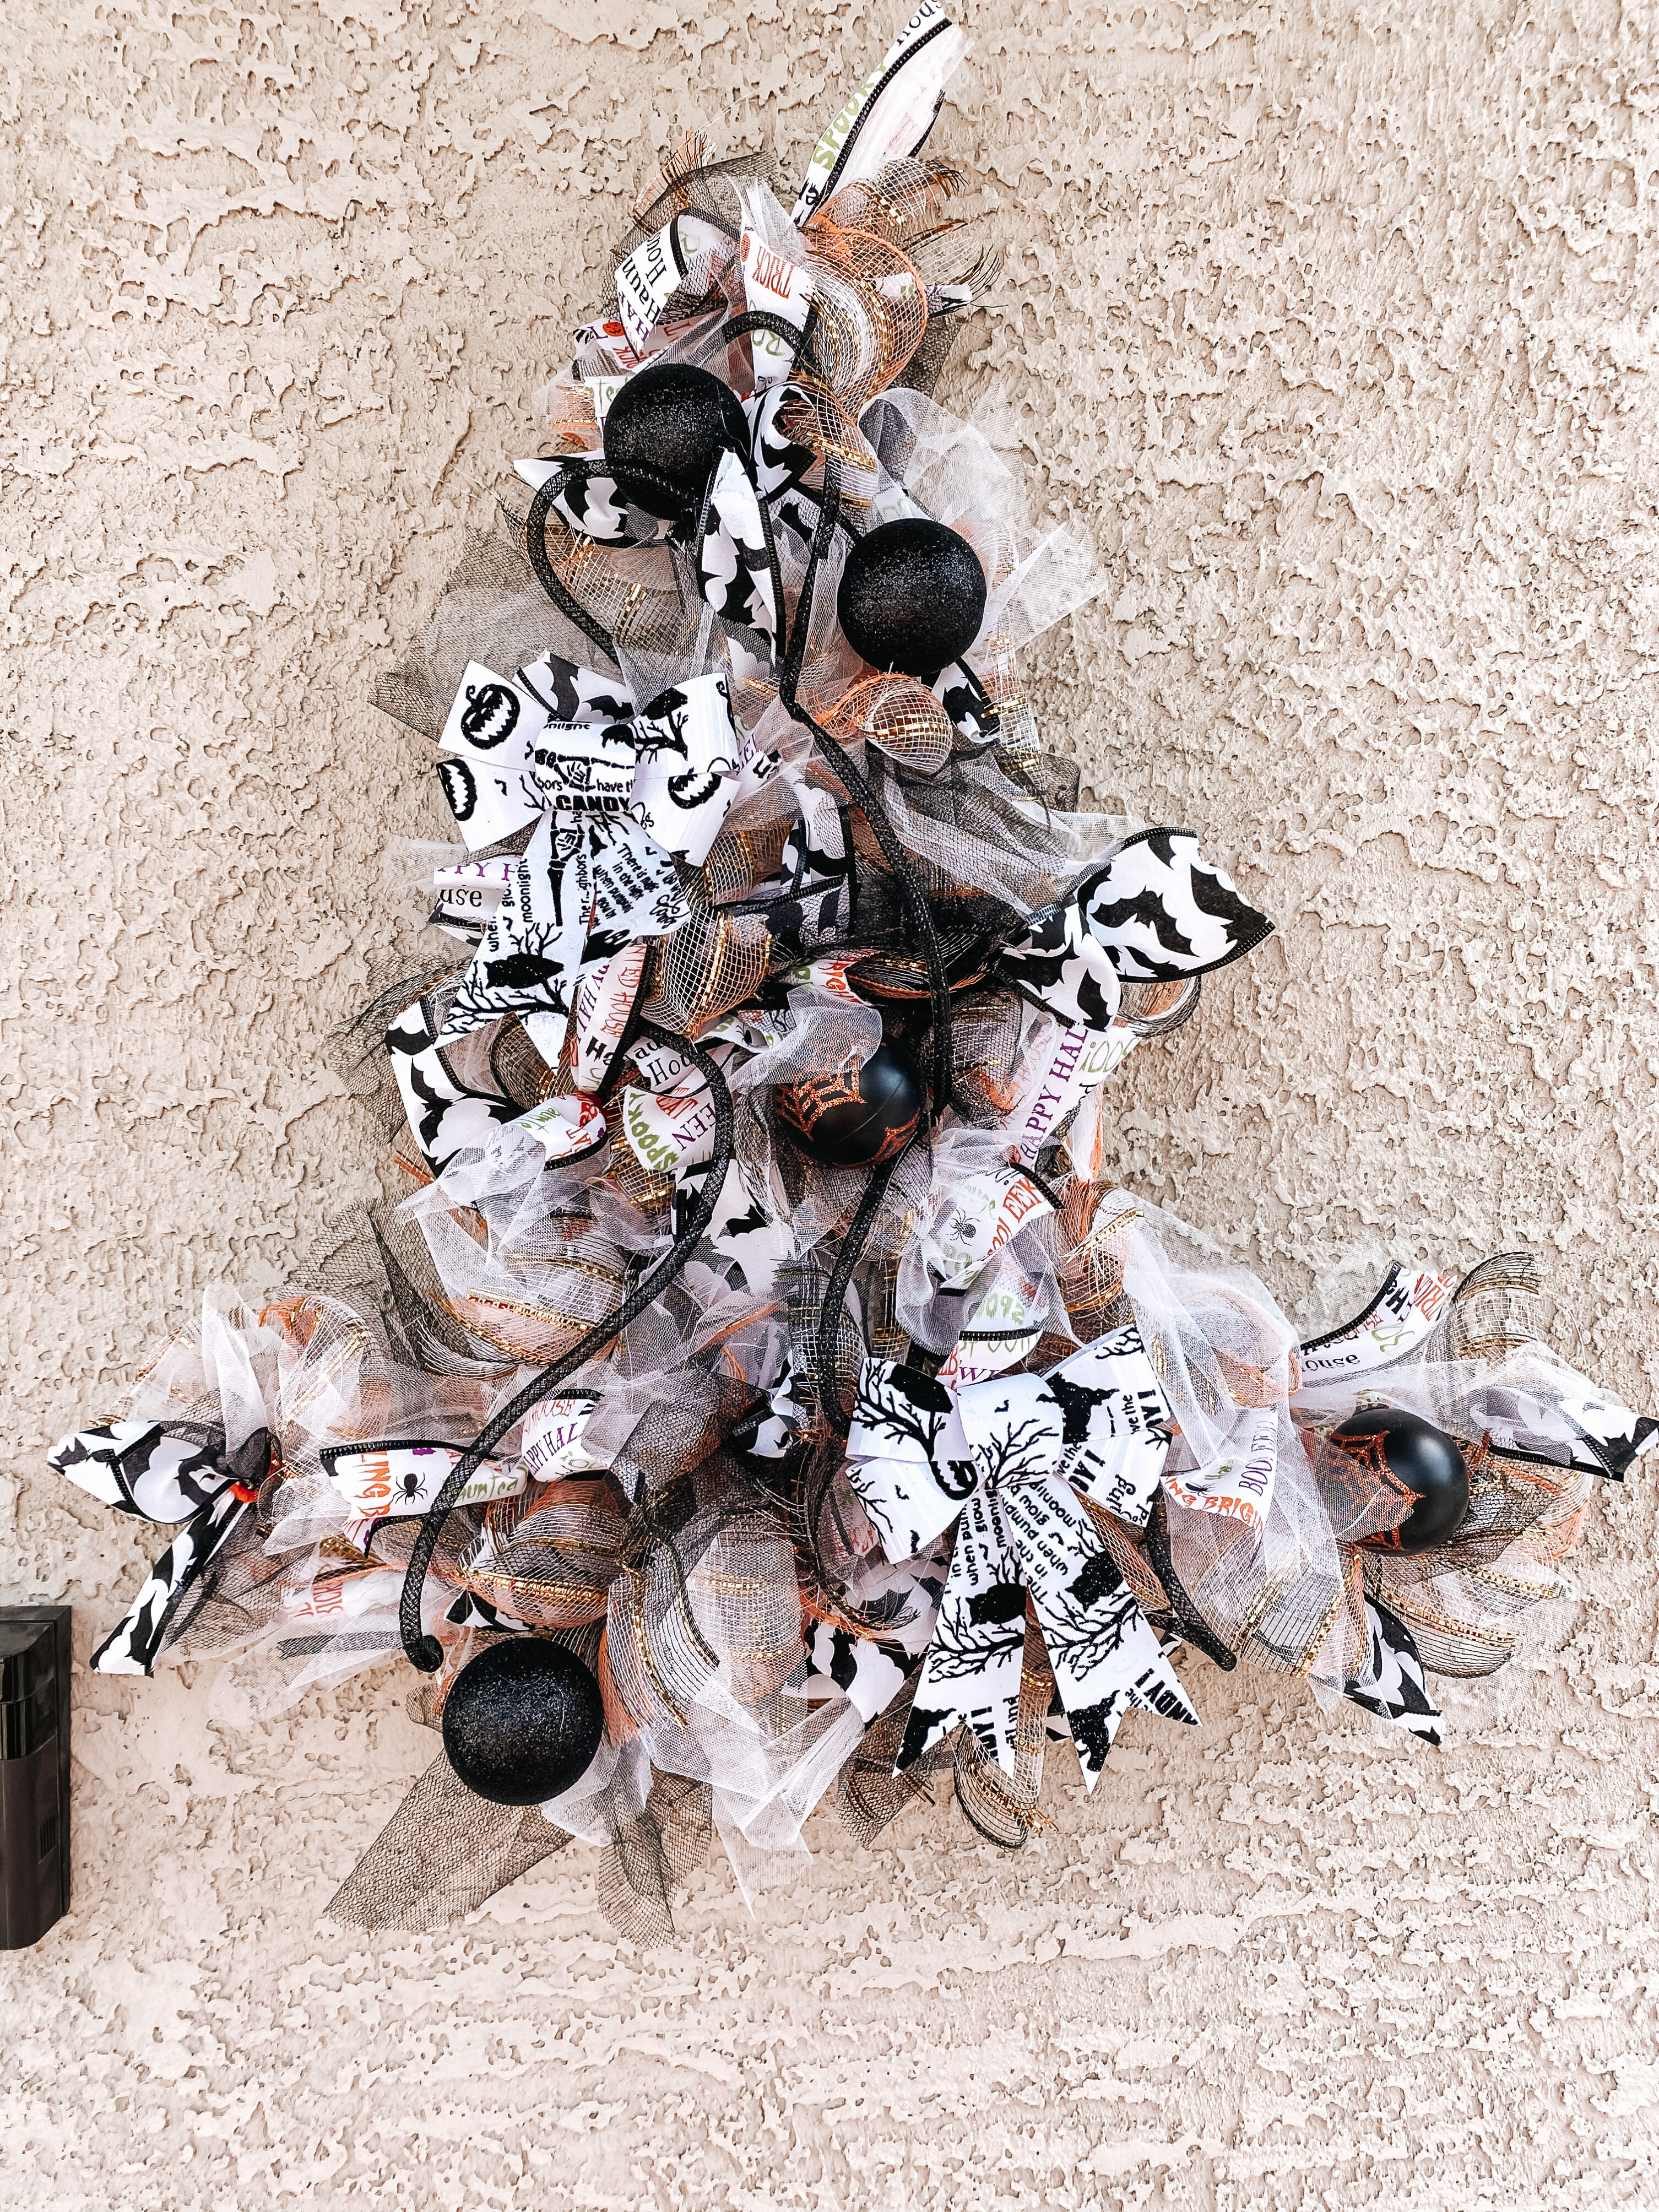
I’ve created this super easy and super affordable wreath that anyone can seriously do! It was actually my very FIRST time making a wreath and it didn’t take me that long to do. Want to know the best part.. I only spent $10.00 on this WHOLE project! Want to know another secret, I purchased EVERYTHING at the Dollar Tree! Yes, you read that right!!
Now, of course if you do not like any of the ribbons at the Dollar Tree you can find some at your local fabric store, Walmart or Michaels, however, I’m sure the cost of the project will be a little more than $10, but a whole lot cheaper than buying one already pre-made.
Below are the step by step instructions of how you can re-create this wreath or something similar. You also don’t need to make a Fall wreath. This will be great with making a Halloween wreath, Christmas, Valentine’s Day… anything you want really.

What You Need:
- 4-6 rolls of ribbon of your choosing
- 14 inch wire wreath form
- 12-18 piper cleaners
- scissors
- 1 package of mesh tube, any other ribbon, or props for your wreath (optional)
 Step 1: Take your pipe cleaners (about 10-12), fold them in half and cut. Making about 20-22 pipe cleaners.


Step 2: Taking 1 pipe cleaner in the wire and twisting the pipe cleaner tightly. Repeat as shown in the picture. *You can add the pipe cleaner wherever you like on your wreath.. these will be your ribbon placement. You can also add more pipe cleaners as you go to fill the wreath more, as I did.

 Step 3: Start cutting your ribbon or mess about 10-12 inches (the length of my scissors). If you wish to have bigger bows then you can make it longer.

 Step 4: Once your ribbons/mesh are all cut roll them in the direction they were rolled once buying them.

 Step 5: Take 2 ribbons/mesh of different patterns and combine together (pinching in the middle).

 Step 6: You will take your combined fabric and place it on your starting point of the wire wreath in one of the pipe cleaners.
Step 7: Taking both ends of the pipe cleaner. Twist really tight so the fabric is in tact and tight.

 Step 8: Pull apart your fabric to make a bow. You can also cut some of the edges like I did to fluff up the fabric more (which causes a fuller effect).
Step 9: Repeat steps 5 through 8 on all other open pipe cleaners around the wreath. *TIP- if you are starting to run out of fabric, make sure your fabric is spread throughout the wreath. You can always fill the empty gaps with other material you have like, bows, mesh tube, props, etc.*

 Step 10: Once you’ve filled all the pipe cleaners, you can start filling in the empty gaps. In my case, I used mesh tube. I started by cutting the tubes about 15-16 inches long. You will need 3 pieces of tube to make a small bow. If you would like a bigger bow then cut the mesh tube a little bit longer.
 Step 11: Take the 3 tubes and fold in half.
 Step 12: Take the half folded mesh tubes, and fold in half once more and pinch the middle. You will see your little bow.

 Step 13: Bring the bow to an empty pipe cleaner on your wreath and twist the cleaner right where you are pinching the middle of your bow.

 Step 14: Repeat steps 11 through 13 and fill in empty parts of your wreath. *You can see I’ve added an orange mesh ribbon as well to fill it just a little more, which also gave it a little more definition


 Step 15: Once your wreath has all been filled, you are now going to add the hanging string. I used leftover tube mesh. *TIP- I would pick up your wreath and find the angel that you life the best then place the string at the top. Make sure it’s tied tightly so it doesn’t become undone and break off.
Step 16: Almost done. All of the pipe cleaners that you see poking out, this is the time to hide it. Most will be hidden from all your little bow fillers, but some will still be noticeable. Take the cleaners and wrap them behind the bows, to the back. You can twist them if you like or cut them. Just make sure the pipe cleaners won’t become undone.
 Step 17: *Optional* If you have any props you would like to add, do so now. In my case, I found these adorable metal signs, and thought the WELCOME one would be perfect for this wreath. Take your hot glue gun and glue the back of the prop to where you would like it to be placed at on your wreath.
VOILA YOU’RE DONE!!
Now, you can hang your beautiful wreath wherever you like. FYI- They also sell door hangers at the dollar tree, in case you don’t have one.


Leave a Reply