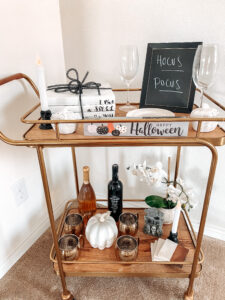
I will have to say, Dollar Tree is seriously my jam lately! I’ve been on a serious DIY kick.. making all the home decor things! I mean, you can’t beat a inexpensive project!
Last month, I shared on my Instagram this video of how I created Dollar Tree books and turned them into beautiful home decor pieces for Fall.
Well, I decided to do the same exact thing, except create new ones for Halloween.
The thing that I love about doing this project is that you can create different looks of the books for each season or year round! You can add your own style, own wording, and your own decorations if you like!
Below, I shared with you all step by step instructions on how to create this decor.

WHAT YOU NEED:
- At least 3 books with hard cover
- Acrylic paint (I purchased mine at Hobby Lobby, but you can get it at Walmart/Dollar Tree (if available)/Target)
- Sticker letters (also purchased at Hobby Lobby. Dollar Tree does sell sticker letters and even Walmart or Michaels)
- String to tie and/or any other decorations *optional*
Step 1
First thing you want to do is go to your nearest Dollar Tree store and of course you can do this project with any books. You already have books on hand and no longer need, then that’s great. If you don’t have a Dollar Tree near you and have a Walmart and/or Target, then you can get books there also (it may just be more in cost), but ANY books will do! The only thing that I personally recommend is to keep an eye out on the sizing. I personally wanted the books to have roughly the same binding width and the books in general to have the same length. Just play around with the books and the sizing. *make sure you purchase the books with a removable cover*
Step 2
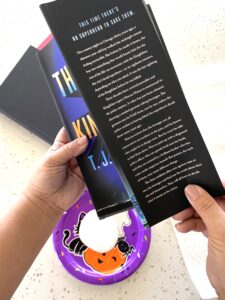
Once you have purchased the books, remove the cover on the books.

Step 3
Take your preferred paint color and squirt desired amount onto a disposable plate.
Since I am making this for Halloween and since I already have black letter stickers from using it for the Fall books that I created, I choose to paint my books white.. again.
Step 4
Depending on the hard cover of the book, you may need to do a couple coatings. Here I did a total of 3-4 coatings per book. Also, I would consider where you are going to style your books in your home. When I did the Fall books, I had it placed where you can see the sides of the books. For these ones, I have it placed where you will not see the sides of the books, so I didn’t paint the sides or even the back side of the book. Once painted to your liking… let dry.

Step 5
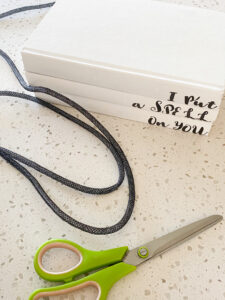
After letting it completely dry, I took my rub on letter stickers (you can use any stickers… doesn’t need to be the rub on kind… I just happened to like the style of this one) and applied it onto the books. I personally like the letters styled at the end of the right side of the binding. Here you can see I spelt out ‘I put a spell on you’ which is from my ALL TIME favorite Halloween movie… Hocus Pocus! If you haven’t watched that movie… stop everything you’re doing and watch it.. it’s sooo good!
Step 6
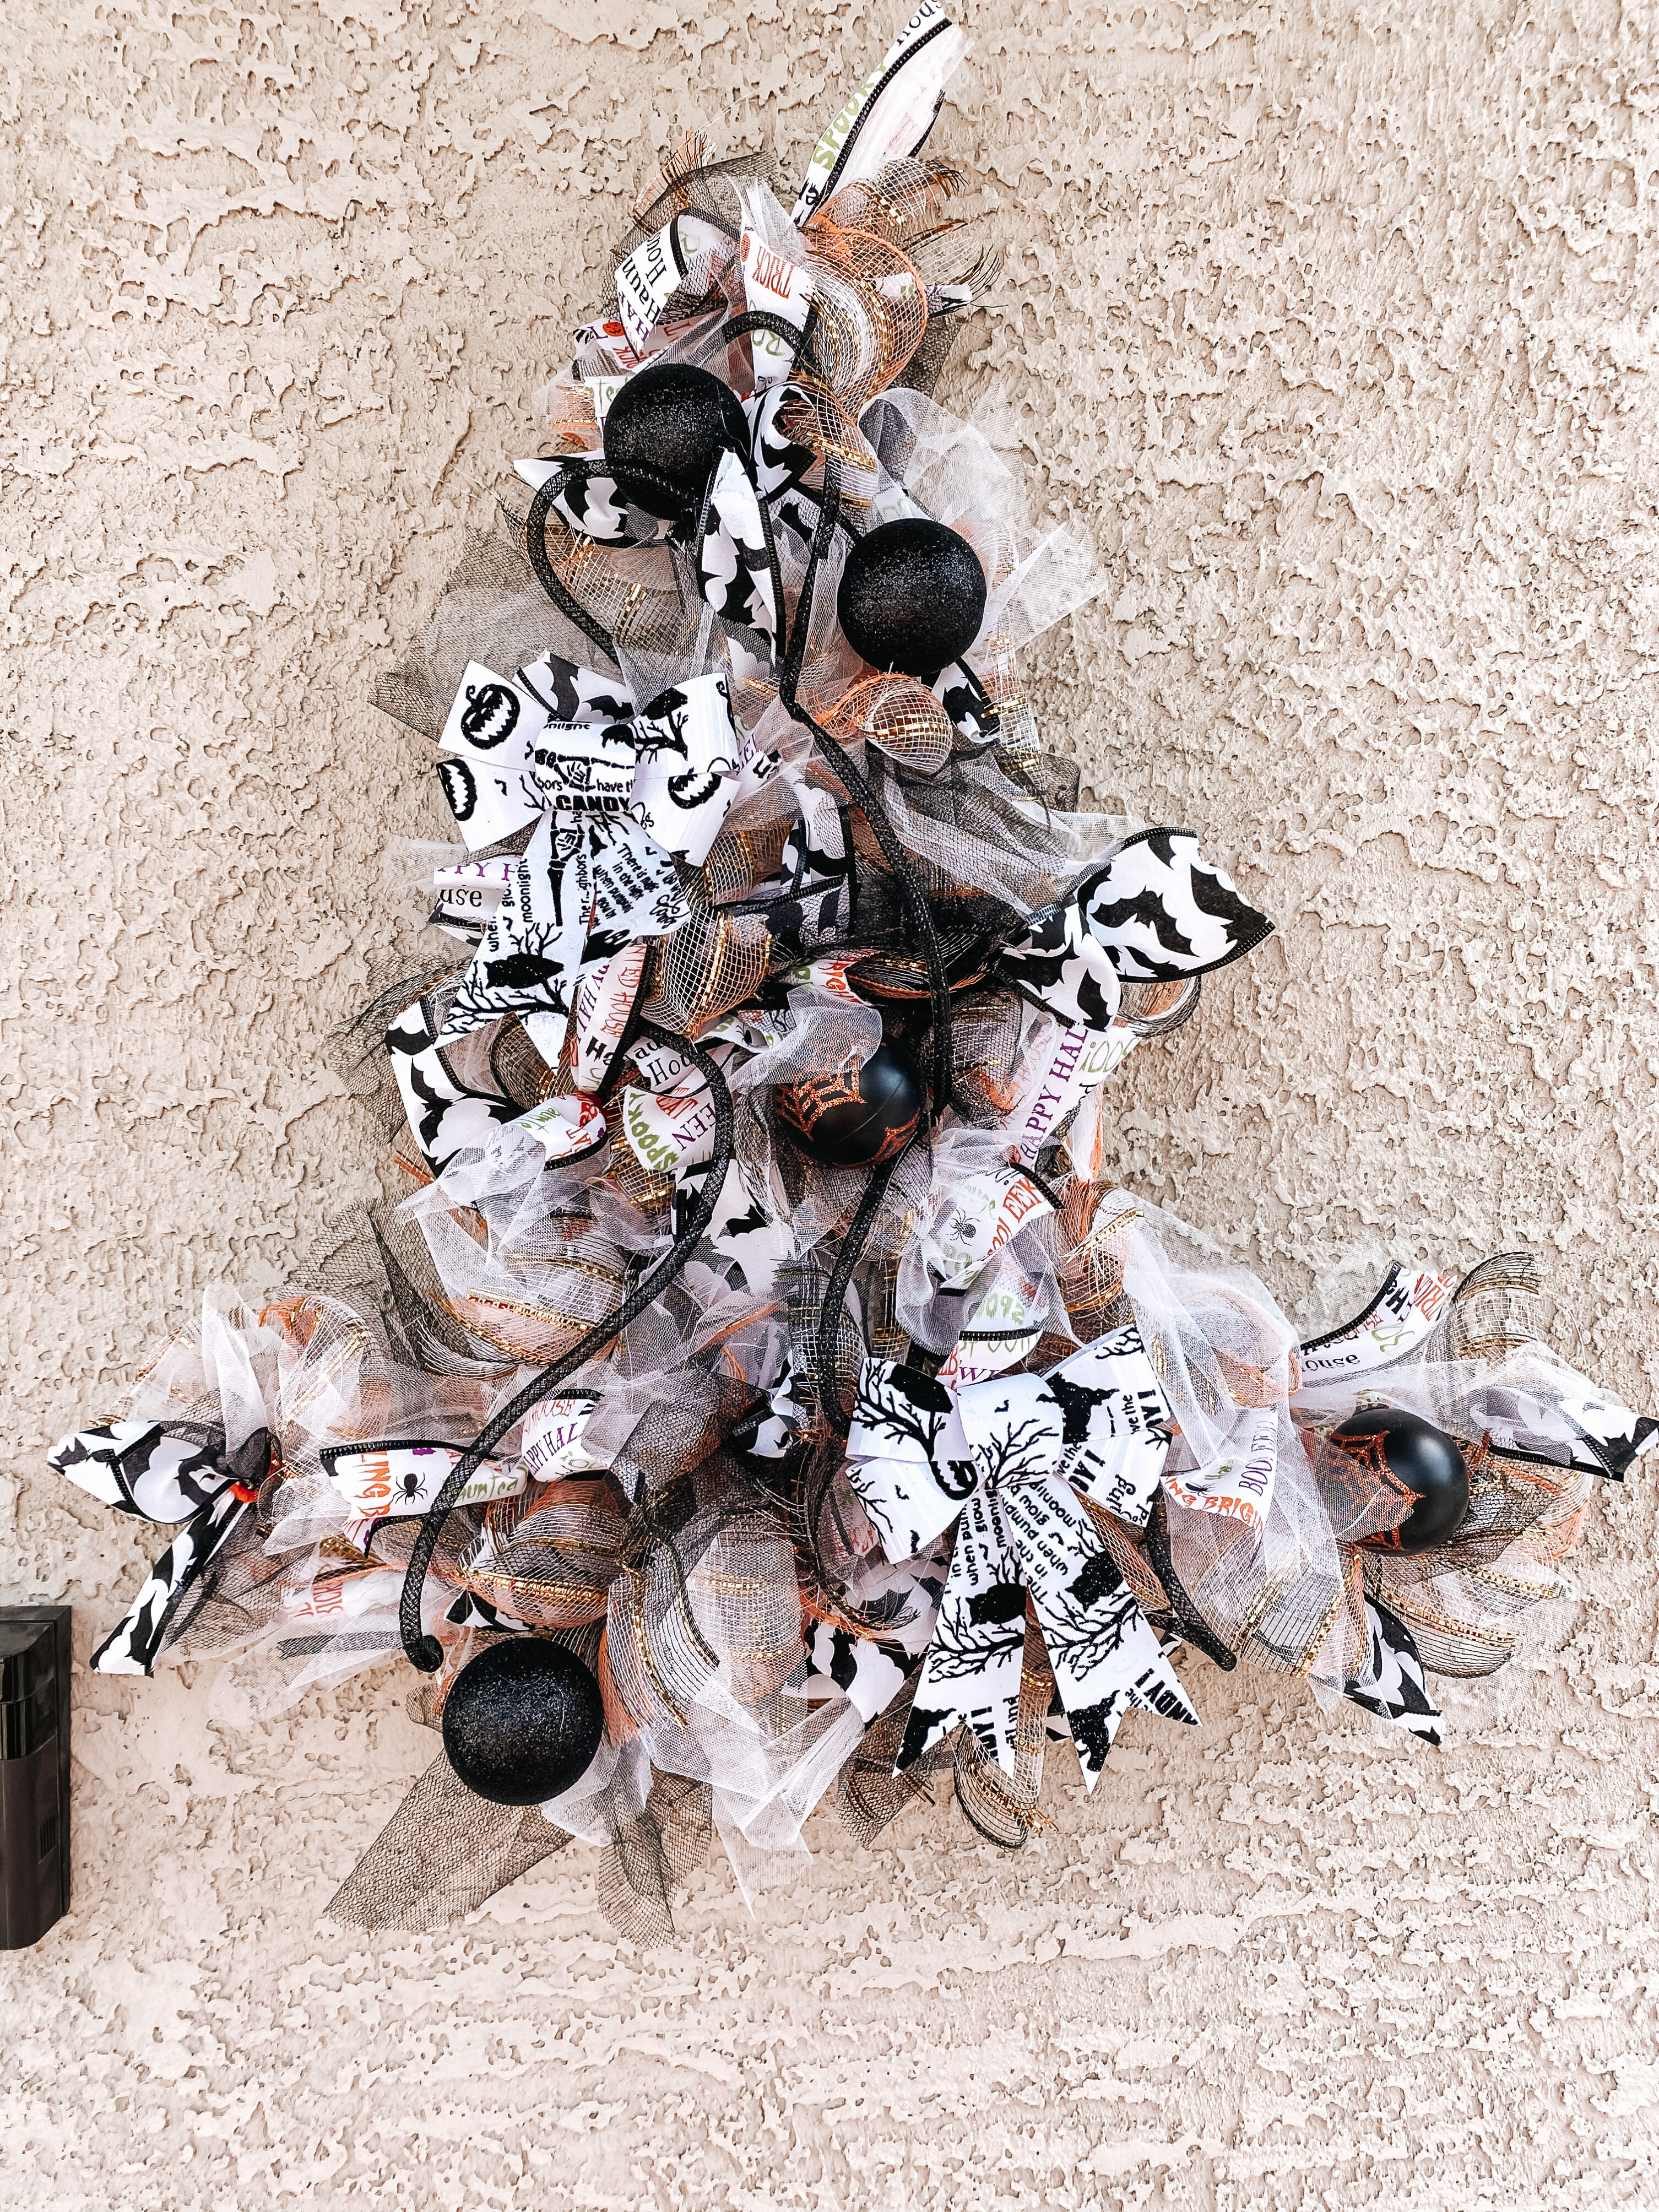
This step is completely optional. Here is where you will add any other decorations, ties, etc. As you can see, I decided to use some of the leftover black tube mesh that I also bought at the Dollar Tree for a wreath that I created, and used it to tie the books together. I think doing this, especially since the books are white, it definitely made it look more Halloweeney… wait is that even a word!?
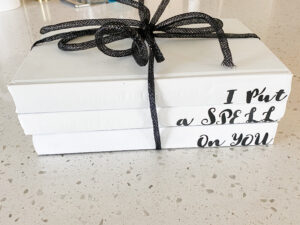
There you have it! A super cute and inexpensive way to add Halloween decorations or for any other holiday, as part of your home decor!
XO
Don’t forget to pin this to your Pinterest

This post does contain affiliate links. I do make a small commission if you purchase something from my links, but in no way shape or form does this increases the price of the product(s) in which you are paying for. As always, all opinions and thoughts are my own.

Leave a Reply